
")
It's that time again when you have spent time and energy decorating a room within an inch of its life, only to realise something glaringly obvious has been neglected.
Without playing a game of hot and cold, I can tell you that the hotter you get, the hotter your room will be! Yes, it’s the humble radiator. To stop this from happening to you, I have written these extensive radiator painting instructions, which also include my top tips and tricks of what not to and other painting radiators problems.
Disclaimer: As an Amazon and Wayfair associate, we do receive a small commission from qualifying purchases made via links within this article.
Considerations Before Painting Radiators
In most rooms, a traditional style of white radiator will sit beneath the window, quietly working away to help the room feel nice and toasty. Decorate the room in the wrong way though, and that radiator can begin to stick out like a sore thumb.
The most obvious way to rectify this is to add a fresh lick of paint, to either revitalise it or change the look of your radiator completely. Unlike your walls though, you can’t just pop open any old tin of paint and apply it to your radiator's surface.
So if you're wondering ' Can I paint my radiators', what are the best radiator painting methods, or how to repaint an old radiator, here are some great tips for what you should do, and just as importantly, what not to do!
If you reach the end of this guide to painting a radiator and decide that all of this is too overwhelming for you or you just don't think that you will be happy with the finished result, maybe you should consider completely covering up your radiators or finding radiator alternatives!
So anyway, let's get started with what not to do when painting a radiator:
Don’t Forget to Turn the Radiator Off !
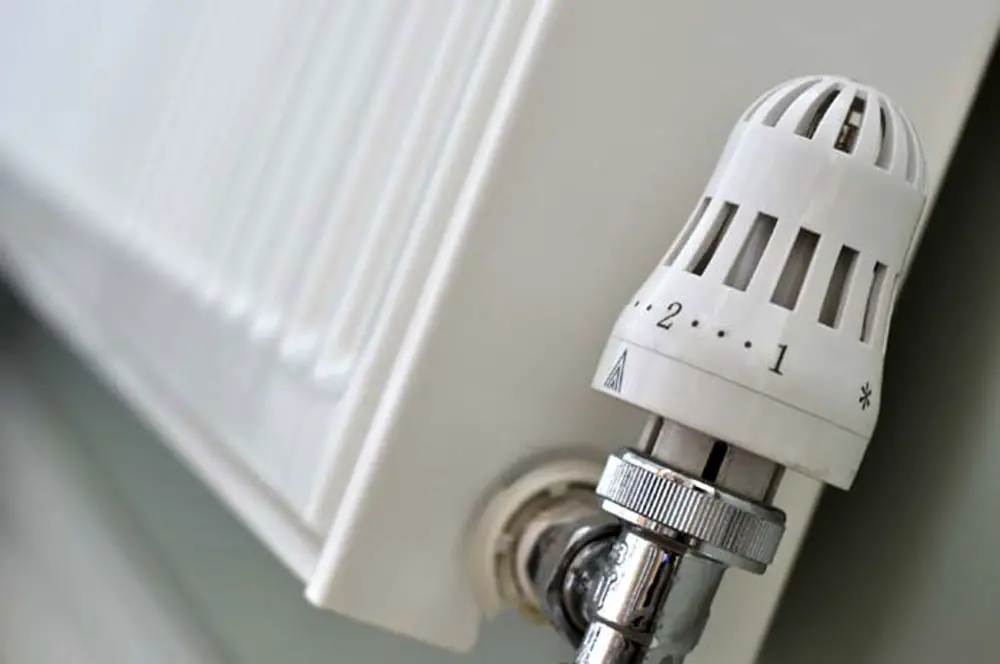
Image credit: cse.org.uk
It is very important that the radiator you are painting is turned off and has cooled down before you consider applying paint to it.
If it is on and the paint isn’t allowed to dry correctly in its own time, the radiator paint is likely to bubble and crack. Similarly, if the radiator has been left on for a while and the surface is hotter than 30°C, the radiator paint will not adhere properly. This could potentially cause it to peel away over time, as there needs to be moisture present for the paint to set and stick to the surface.
The reality is, that if you apply radiator paint on any surface which wants to repel moisture, you’ll end up with a radiator that has bubbles and cracks all over the surface. This is definitely not the best way to paint your radiator properly!
Interesting Fact...
The modern radiator was invented by Franz San-Gilli in the 1850s. He patented the invention, although many others also worked on it.
How Long After Painting a Radiator Can You Turn it on?
Once the radiator painting is complete, allow the newly painted radiator to completely dry for at least 24 hours before turning it back on again.
It is important not to rush this stage, as the paint could become tacky when warmed up and the finish could potentially not look as neat and tidy as you would like, undoing all the hard work that you have already achieved.
What Paint to Use on Radiators?
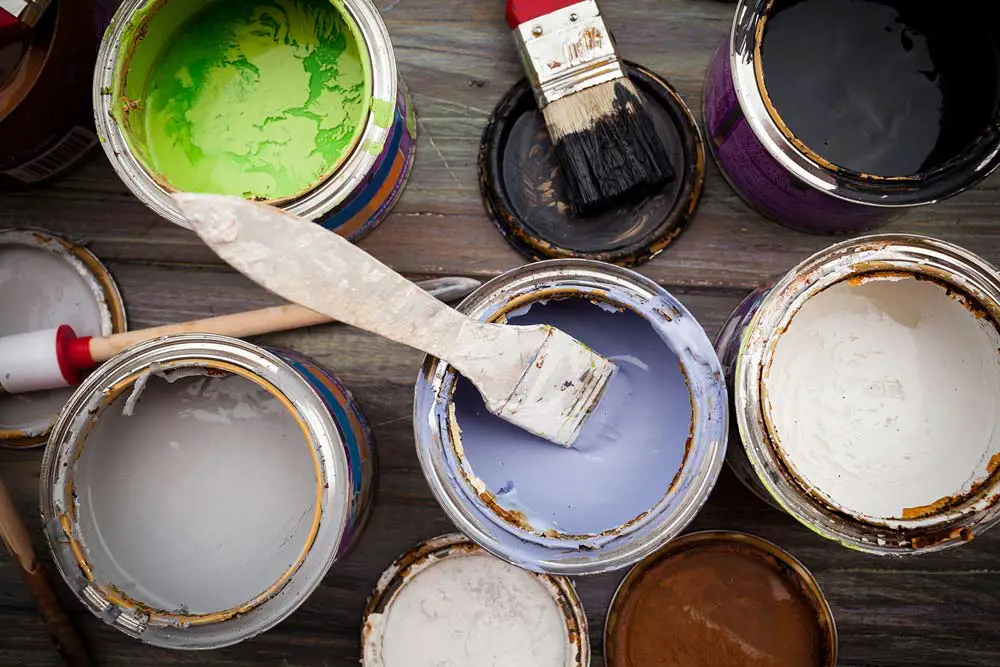
Image credit: Paintcare.org.uk
When deciding on what paint options to paint a radiator with, It is important to bear in mind that the enamel coating added in the factory during manufacture is designed for the radiator to run at the optimal temperature.
Unfortunately, the more non-enamel paint that is layered on top, the less performance and efficiency you will get from them.
From a purely aesthetic point of view, you will also need to decide if you are going to stick with the colour that the radiator is already painted (probably a traditional white) or go with something that matches your decor or a contrasting colour that compliments your room's colour scheme.
Can you Paint Radiators with Satinwood?
Yes, you can paint a radiator with Satinwood. But before you paint a radiator with solvent-based paints such as satinwood, use a metal primer on any areas of bare metal to give the satinwood a good base to adhere to.
A good quality satinwood is a good option to paint a radiator as it is well suited to temperature changes and has a nice even finish to it once applied.
Can you Paint Radiators with Gloss?
As with satinwood, gloss is also suitable for painting onto metal, and because of its durable nature is certainly suitable for painting radiators.
A couple of downsides to using standard gloss though, is that each time the radiators are turned on it can sometimes emit a smelly odour for a while. Secondly, the white gloss tends to yellow and discolour over time as it is not as heat resistant as radiator-specific alternatives, so you wouldn't get this issue with specialist radiator paints.
Can you Paint Radiators with Emulsion?
Yes, you can paint a radiator with emulsion, but it is not advised, and here is why...
As radiators create a lot of heat output when in use, standard emulsion paint can dry, crack and even peel. This is why I would always advise using a specialist radiator paint, not an emulsion.
It is possible to paint over the emulsion layer with a clear overcoat to seal it and prevent this from happening, but this will create more work and extra expense for you.
It makes more sense to avoid this by simply buying the correct radiator paint in the first place, with the knowledge that you will have the best finish that will last.
So don't simply grab a can of standard white emulsion and expect to be able to crack on with radiator painting.

What paint to use on radiators includes, but is not limited to:
● Radiator primer paint (standard or anti corrosive primer)
● Spray paint (matte, gloss or metallic radiator spray paint)
● Gloss or matte radiator paint
(Click on the links to view the products on Amazon)
Regarding a clear radiator overcoat, you’d want to paint a top coat of this if you do decide on using an emulsion-type paint. You need the radiator to have a protective coating, to help protect it from everyday marks and scratches that can occur. If required after the first coat, you may consider adding a second coat for extra protection.
If the DIY side of painting a radiator is not for you and you would rather get a more bespoke service, I recommend visiting trade radiators to see their range of custom painted radiators. When your order is ready, they will deliver a ready-to-fit new radiator (in your preferred colour) directly to your front door.
Alternatively, simply employ a professional painter to do the radiator painting for you, saving you hours of time and effort in the process.
Don’t Forget to Clean the Radiator First
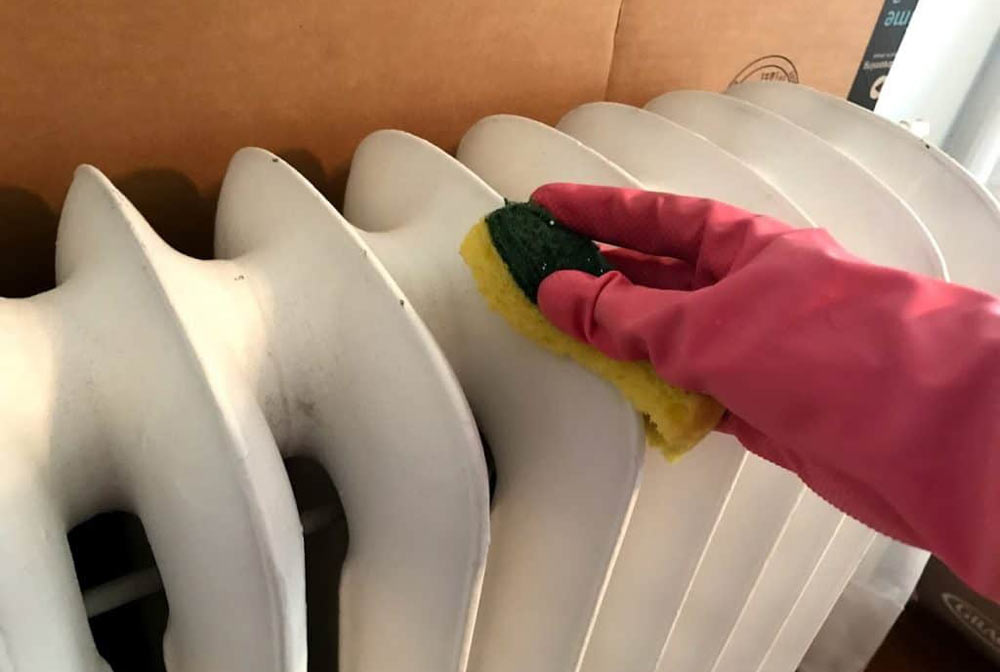
Image credit : https://everydayoldhouse.com
Before you even consider getting ready to paint a radiator, preparation is vital for best results. Never start painting a radiator without giving it a thorough clean first.
All you will need to start cleaning the radiator is a hand brush, vacuum cleaner, some soapy warm water (with some mild detergent added) and a damp cloth.
After brushing off any dust, loose dirt and cobwebs and vacuuming over, simply use a bit of elbow grease to give the radiator a good scrub across every inch of the surface with your soapy damp cloth, this will quickly highlight just how much dirt has gathered on your radiator over time.
I can guarantee that the water will finish murkier than it starts, even if you’re someone who religiously dusts the radiators down every week when cleaning the house!
Once this is complete, dry off each section of the radiator with a lint-free cloth, so that any bits of fluff and cloth that get into the radiator paint are kept to a minimum. Nobody likes a bitty paint surface!
Don't Just Paint Over Chips or Flaking Paint
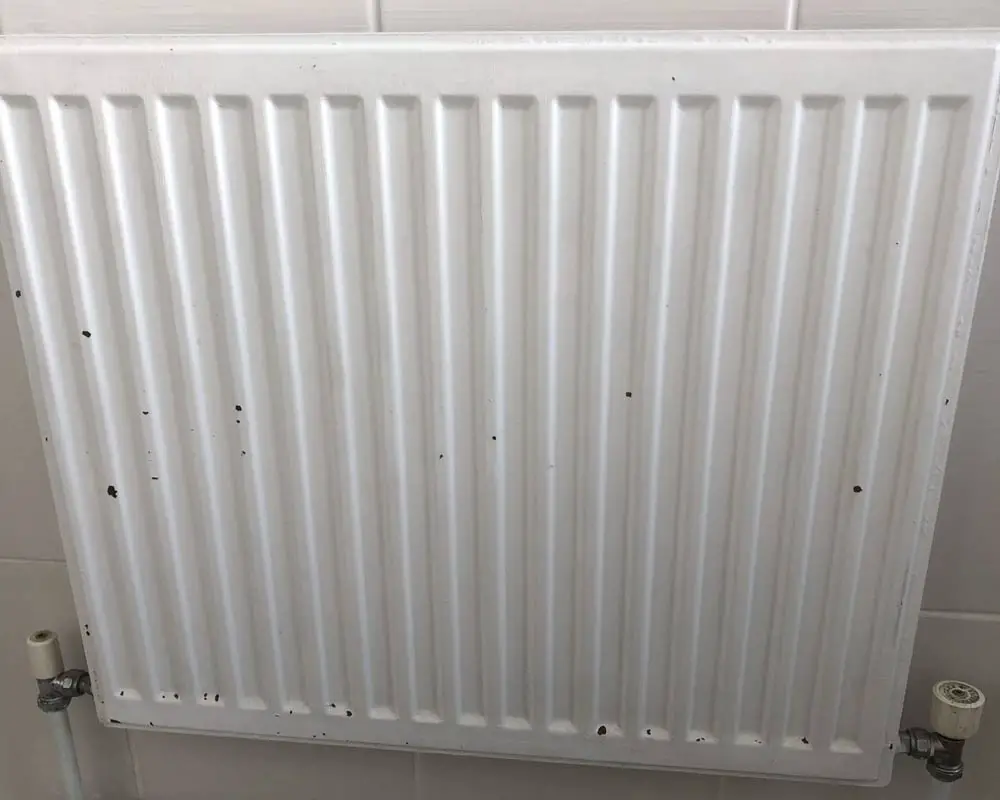
Image credit: sophieeggleton.com
Although it may seem counter-intuitive to clean the radiator before completing any prep work, it is the best way to see exactly what you are working with, and which areas you need to look at in more detail.
Do a thorough check of the radiator surface before considering starting any radiator painting. If there is any loose flaking paint or chips on your radiator, there are a few things that can be done to remedy this.
For the worst areas, use a putty knife to carefully scrape away any cracked or chipping paint, or if a slightly less aggressive approach is needed, use a wire brush to gently remove any loose radiator paint flakes.
If you are concerned about damaging the radiator or radiators that you are working on, you can also try using a heat gun to loosen the paint first. Once the radiator paint is heated up, you should be able to peel it off easily (Just be very careful not to overheat any parts of the metal radiator, as this could potentially cause damage).
Once you have completely removed the loose or damaged paint areas, use sandpaper to sand down the areas that you have worked on, until they are flush with the rest of the radiator surface.
For a better overall and even finish, I advise using a variety of sandpaper grits/grades to smooth out the damaged areas but also to key the surface ready to take the next coat of paint.
This will ultimately give the radiator a much smoother and more professional-looking final coat. Start with a coarse sandpaper of 40 or 60 grit and then move on to a finer 80 to 120 grit sandpaper to finish.
When you’re finished sanding all the affected areas, brush off and then vacuum the whole surface, and wipe the radiator down with a wet cloth or wipe. This will clear away any dust particles left from sanding.
Finally, as a safeguard, wipe the whole surface thoroughly with a degreaser or sugar soap and wait for it to dry completely.
For a full overhaul of your radiator, you may want to strip the whole surface using a paint stripper (any type and brand will be fine for this purpose). Be careful when scraping the radiator paint off though, that you don’t damage the structure or original bare surface of the radiator.
Also be sure to wear all of the appropriate PPE kit and ventilate the area sufficiently, as the paint stripper is corrosive and highly toxic if breathed in for long periods.
Don’t Forget to Prepare the Radiator
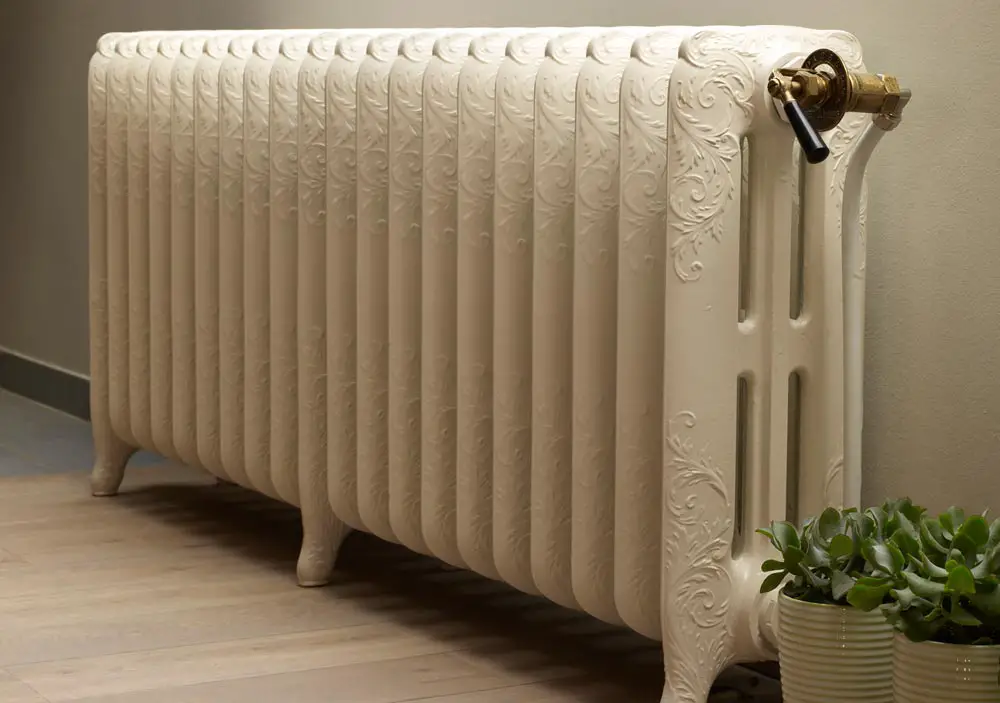
Image credit : https://www.hunker.com
If you are painting a radiator that has previously been painted, you may think it is okay to dive right in after giving it a quick clean. Don’t!
Even if there aren't any obvious signs of flaking paint or chips on your radiators, get up close and personal and meticulously check the entire radiator surface for any small bubbles, marks or bumps.
Use fine sandpaper on these areas to create a smoother surface to paint onto, this will help the paint grab much better and result in a neater and more durable finish, even when using a paintbrush.
Think of it like painting wood; sanding a radiator is just as important, as the more time you take smoothing it out, the more even a finish you will have.
Don't Use Just Any Old Paint on Rust

Image credit: pinterest.com
Due to external factors, radiators are susceptible to surface corrosion, especially in rooms with more moisture, such as kitchens, bathrooms and toilets.
The best defence against rust is to try and prevent it from happening in the first place. This can be done by making sure that it is well coated and has a solid base, either in its original enamel state or with a rust preventative radiator paint.
How to Remove Rust From Radiators
There are a few ways to remove rust from a radiator's surface, using products that you can find around your home.
White vinegar, lemon with salt, and baking soda are all products that you probably have in your cupboards, that are capable of removing rust.
For the worst of the rusty areas though you can also use a chemical rust remover and metallic pad, such as the ones made by Brillo.
How to Paint a Rusty Radiator
Once you have used one of the aforementioned rust-busting methods, a gentle rub down with a fine sandpaper, followed by two coats of either a radiator primer* (if required), enamel paint, or specialist radiator paint, and your radiator will be ready to serve you for a few more years.
Follow the manufacturer's instructions for how long to leave the first coat of primer before adding a second coat of paint. Personally, I would leave it to dry overnight as a precaution, so you can be certain that it won't affect the top coat in any way.
*I recommend the best paint to use is Hammerite Red Oxide Primer which is specially formulated for use on both bare and rusty iron or steel and is also an anti-corrosive primer.
| Get it here... |
|---|

|
Don't Skimp on Protecting the Walls and Floor
Regardless of how careful you are when you paint a radiator, it is inevitable that paint is always going to splash onto the wall behind or the floor below. So be sure to clear the space around the work area and lay down old sheets, cardboard, old bedding, newspaper or protective dust sheets to protect the floor and surrounding fixtures and fittings.
Use masking tape and/or cardboard to cover the skirting boards and place another large sheet of cardboard behind the whole radiator to protect the wall area, taping it if necessary.
Don't forget to also cover or masking tape any radiator pipes and thermostat dials so that they are also protected from paint splodges.
Whenever you paint a radiator, or anything else indoors for that matter, it is important to always open a window. This will improve ventilation and make sure that the fumes can escape. In addition, always be sure to wear the appropriate protective clothing and a mask to protect your lungs.
Don’t Forget to Prime your Radiators
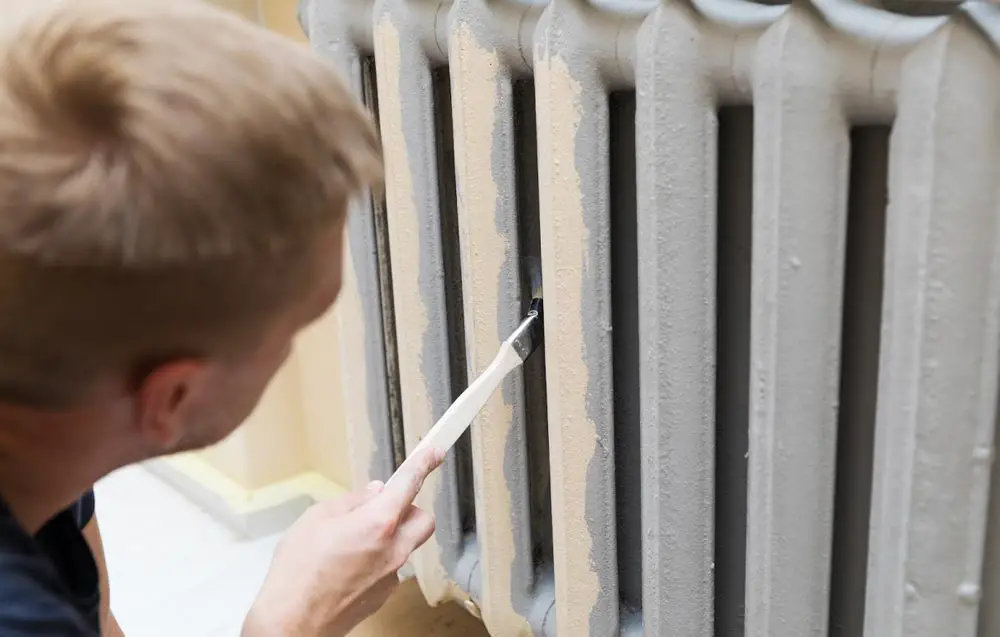
Always Follow the Grooves
Image credit : https://www.thepaintshed.com
That little bit of extra time spent applying a layer of radiator paint primer can be the difference between an easy paint job that will coat evenly and having to sand it all off and start over.
Purchase specialist radiator primer, as opposed to any old metal primer. Remember that your radiator already has a coating on it, and unless you have rust on the edges or paint has chipped away from the surface, a metal paint primer won’t be of much use.
When painting your radiator you’ll want to be liberal with the brush strokes, but reserved with how much paint you have on the brush, to produce a nice even coat of paint.
Always paint a radiator in the same direction as the radiator grooves (i.e. up and down) or you may not end up with the nice smooth finish you are after. What can happen, in this instance, is that the fresh coat you have applied can tend to look patchy and uneven.
How to Paint Behind a Radiator

Image credit : https://www.thegreenhead.com
Last but by no means least I hear you ask, but how do I paint behind a radiator? Well, it very much depends on the gap that you have to work with and the type of radiator that is attached to your wall.
For many modern homes, they are now fitted with flexible plastic pipes. This makes it easy to remove the radiator from the wall, rest it on your legs (or another suitable object) and merrily paint away. Smug in the knowledge that you have saved a great deal of time and money not having to fully remove any radiators.
Once completed, carefully align it back onto the brackets and it's job done.
If you prefer not to remove the radiator at all, regardless of whether you are using a paint brush or spray painting your radiators, you will need to cover and mask the wall behind it with brown packing paper and masking tape.
Do not forget to also put a dust sheet down to protect the floor and skirting board (if you haven't already) and cover any radiator pipes, caps and thermostats with masking tape to protect them. For older copper pipe fittings, where this can't be done, there are a few other options. Some are more complicated and troublesome than others!
Where space allows, the simplest option is to use one of the various specialised painting tools available on the market. Here are some of the most common radiator painting tools that you can purchase to help paint a radiator:
If the space behind the radiator doesn't allow for this, there is only one option left available to you. Unfortunately, you will need to get a professional to remove it!
Depending on the way that your system is configured, they may get away with simply shutting off the water supply to the single radiator or radiators affected, this would be the cheapest option. Otherwise, a large part of your home's supply may need to be drained down before the radiator can be removed.
Obviously, the only person that will know this, is the plumber that you employ. The cost of the work will ultimately be dictated by which route they need to take.
Don't Forget the Radiator Pipes
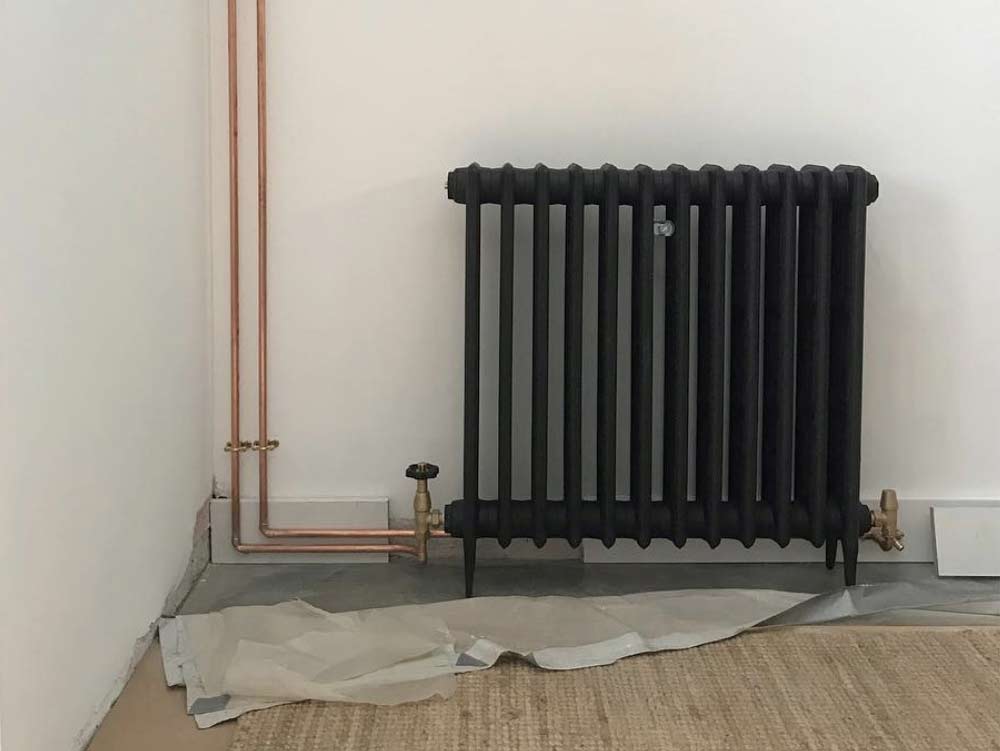
Image credit: pinterest.co.uk
Once you have completely finished painting your radiators, you are just left to decide how you are going to finish the radiator pipes.
After prepping and sanding the pipes, in the same way as you would before you paint a radiator, there are 4 main finishing options available to you:
- Leave the radiator pipes as they are, assuming that they are clean and not tired or worn.
- Paint them the same colour as the radiator so that they blend into one another better.
- Use metallic paint or spray paint to give them a fresh coat of chrome, silver or gold.
- Use plastic radiator pipe covers to give them a new lease of life without the need for any paint at all. These are generally available in white, chrome, black or brown.
Get More Tips for Improving your Walls
I hope that you found my article on how to paint a radiator helpful and wish you the best of luck in your decorating exploits.
If painting your radiators has given you the DIY bug and you’re planning, or in the middle of decorating your walls, make sure to check out my painting walls for beginners blog article where I have written some great tips and advice for achieving the perfect paint job.
Main Image credit: lick.com
 Author: Matthew Chiappini