

Decorating or re-decorating an entire room, or even part of a room, can sometimes seem like an overwhelming and daunting task. This is especially true if it's not something that you have done before, or have much experience in.
So to help you out with your paint project, I am going to show you how to paint walls, using my ultimate beginners guide.
I hope that this easy-to-follow step-by-step guide will assist you along the way and make painting your room an effortless breeze! (Okay, that may be pushing it!) Nevertheless, I'm here for you.
Disclaimer: As an Amazon and Wayfair associate, we do receive a small commission from qualifying purchases made via links within this article.
Tools Required for Painting & Prep
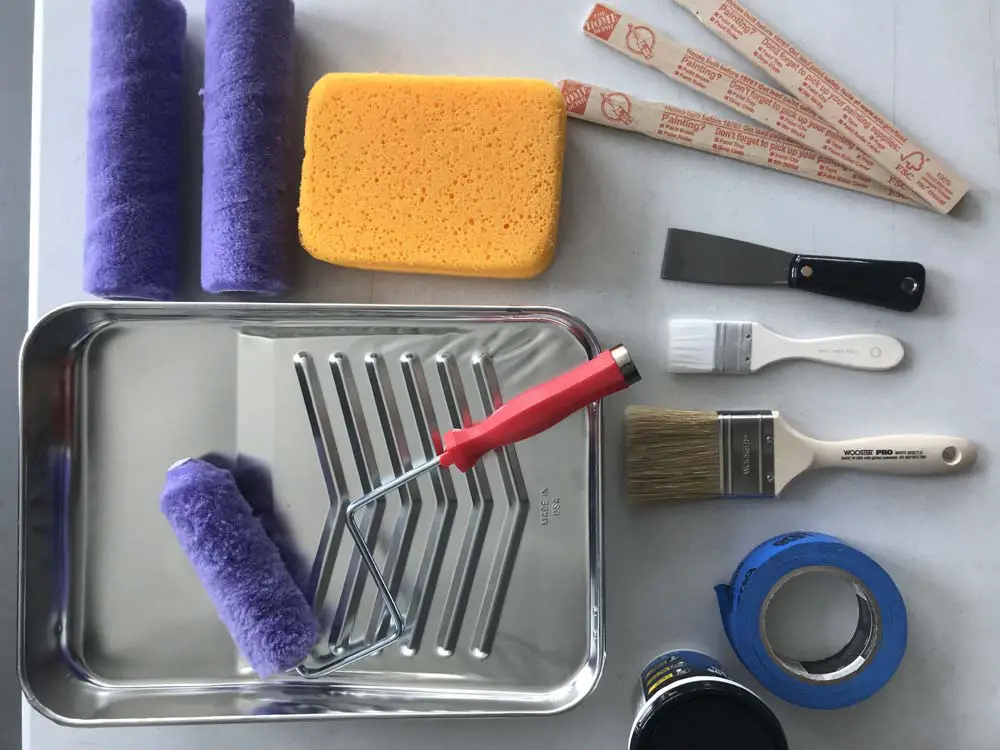
Image credit: marthastewart.com
Before starting any preparation or paint job on the interior walls, visit a hardware store and purchase the decorating tools and paints required for painting your room.
These should include the following items:
- Your chosen paint colour (in the correct finish)
- Paint brushes and rollers
- A roller paint tray
- A mixture of low and medium grit sandpapers
- Sugar soap or equivalent
- Decorators caulk
- Wall filler
- Low tack decorators edging tape
- Brush cleaning fluid (if the paint you are using is not water-based)
How to prepare to paint walls
1. Empty the room and clear the walls
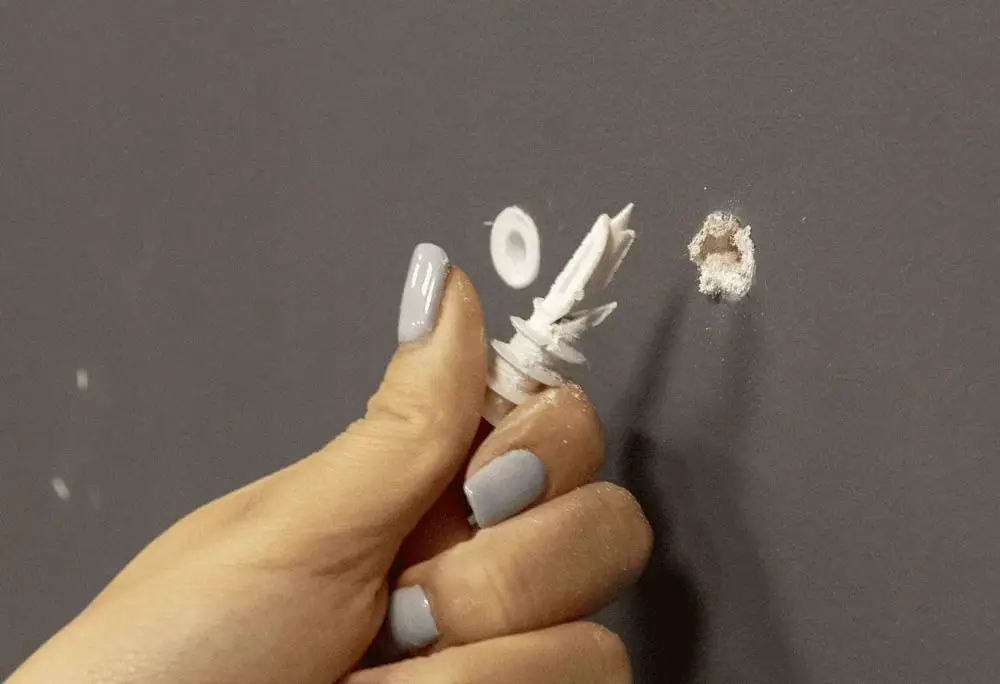
Image credit: nixsensor.com
Clear the room of any wall art, small furniture (if not too heavy) and any other wall decor items that may hinder painting.
Cover and protect any areas of the flooring and all the furniture that you are leaving in the room, by laying down dust sheets, old curtains or bed sheets.
Remove loose paint with a paint scraper or putty knife, and take out any nails, screws and wall plugs that are no longer needed.
Top tip: To get wall plugs out more easily, insert a similar width screw approximately halfway down the thread, and use pliers to grab on to and pull the screw (and hopefully wall plug) out of the wall.
2. Fill any cracks and holes with wall filler
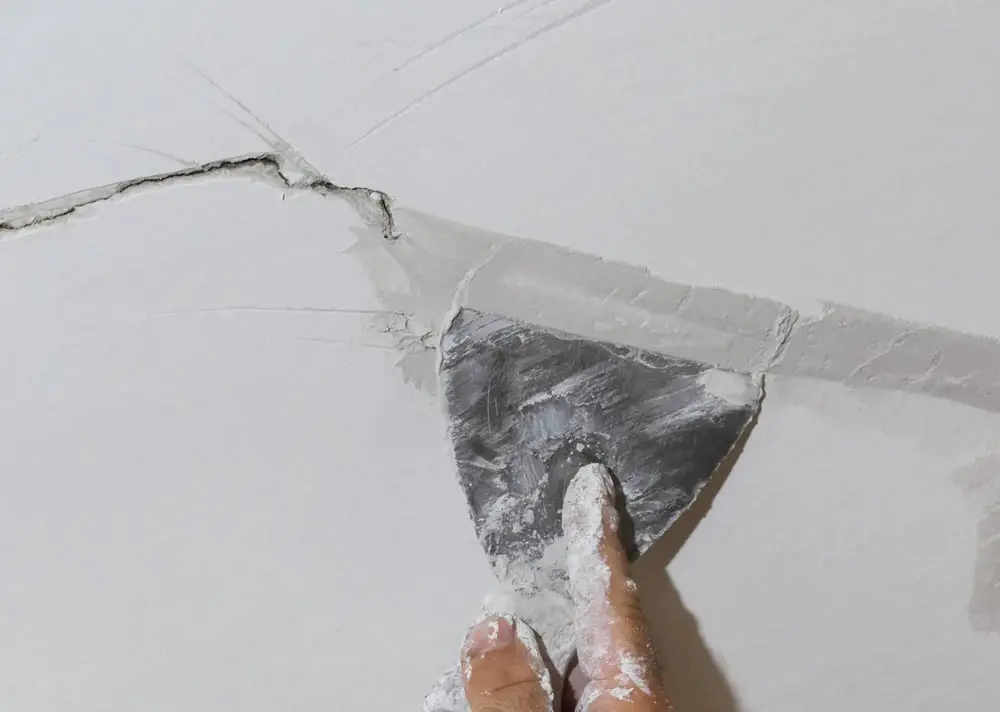
Image credit: chameleon-decorators.co.uk
Apply the filler in any holes or cracks that you can see, using a putty knife or other similar tool. Smooth the surface of the wall filler as much as possible, so that it's relatively level with the rest of the wall surface.
Top tip: Do not overfill the holes and leave too much excess filler on the wall. This way you will save time and effort when sanding it back from the surface, and it will also result in a more professional finish.
3. Prepare the walls for paint
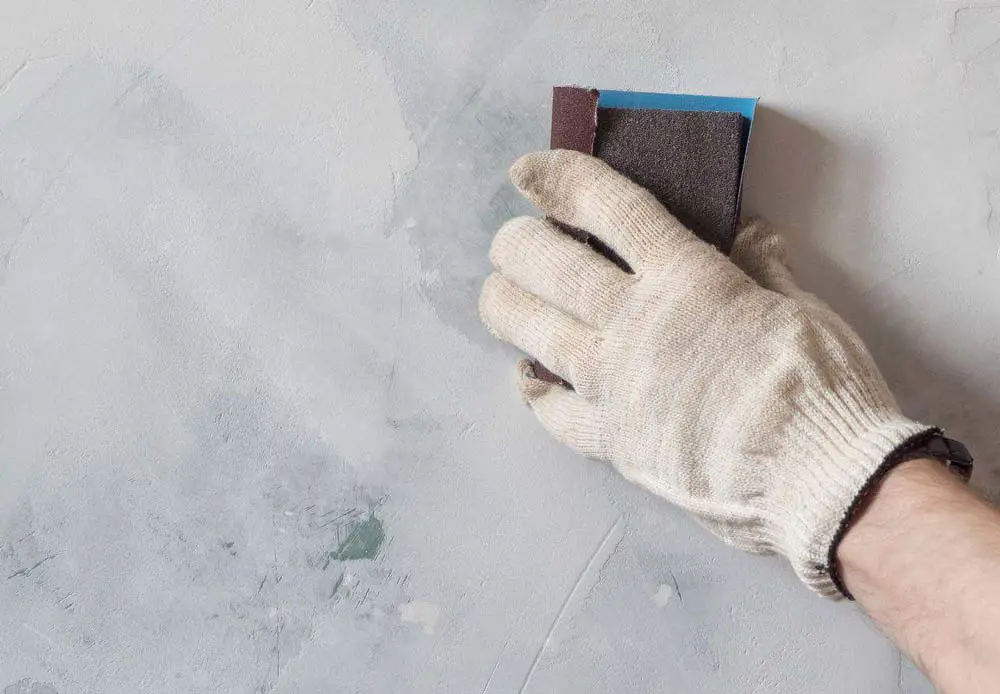
Image credit: thediyhammer.com
When the filler is completely dry (use the product instructions for approximate timings) use sandpaper to fully sand and smooth all of the filled and uneven areas.
Top tip: If you are finding it hard to level the filler with the sandpaper you are using, use a higher grit grade to take the bulk away, then go back down to a lower grade to get a smooth finish.
Use a soft broom or hand brush to sweep off any dust created during sanding.
If the interior walls have currently got a satin or gloss finish to them, or even if they don't, we advise using a sanding block or electric sander to sand and roughen the entire wall surface, to give the next coat of paint a good 'key' to bond to.
4. Clean the walls of dust and grease
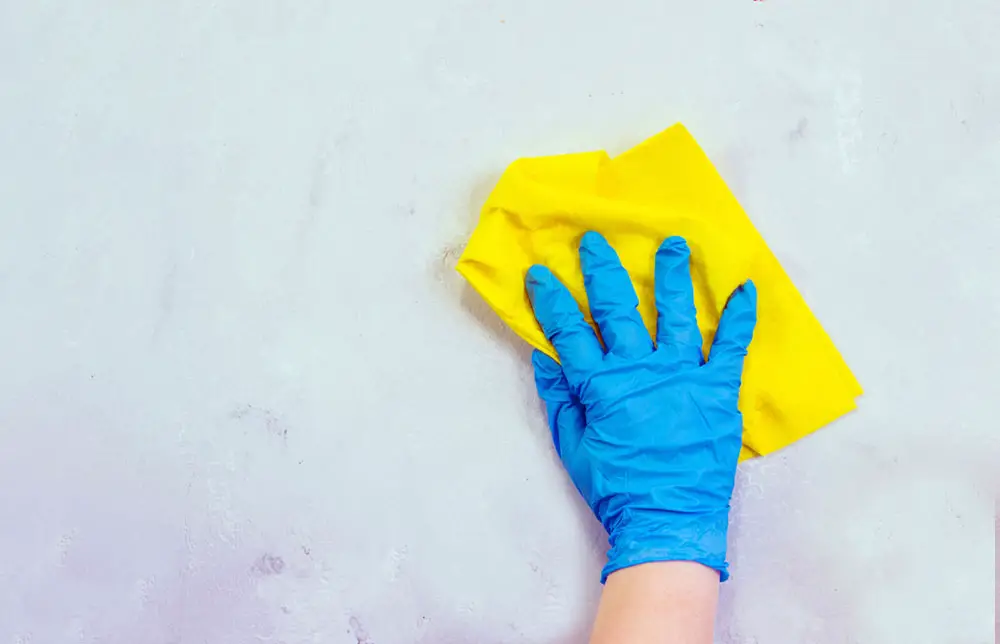
Image credit: cleaning.lovetoknow.com
Start by cleaning the walls with a sponge or cloth to scrub any dirt, grime, or marks off the wall surface, using a mixture of sugar soap and warm water, or an equivalent cleaning product (see manufacturer instructions for correct quantities).
Top tip: It is important to wear protective gloves and goggles, as it can irritate the skin and be dangerous if splashed into the eyes.
Continue by cleaning the skirting boards, architrave, window casings and any other trim with the same sugar soap solution. This is to remove any grease or dirt that could get onto the walls and affect the quality of the paint finish.
Don't forget to also clean all of the window frames, window sills and door frames, as the same could happen with those also.
Finally, once the sugar soaping is complete, rinse the whole area with clean water, and allow it to completely dry.
5. Fill gaps along skirting and architrave edging
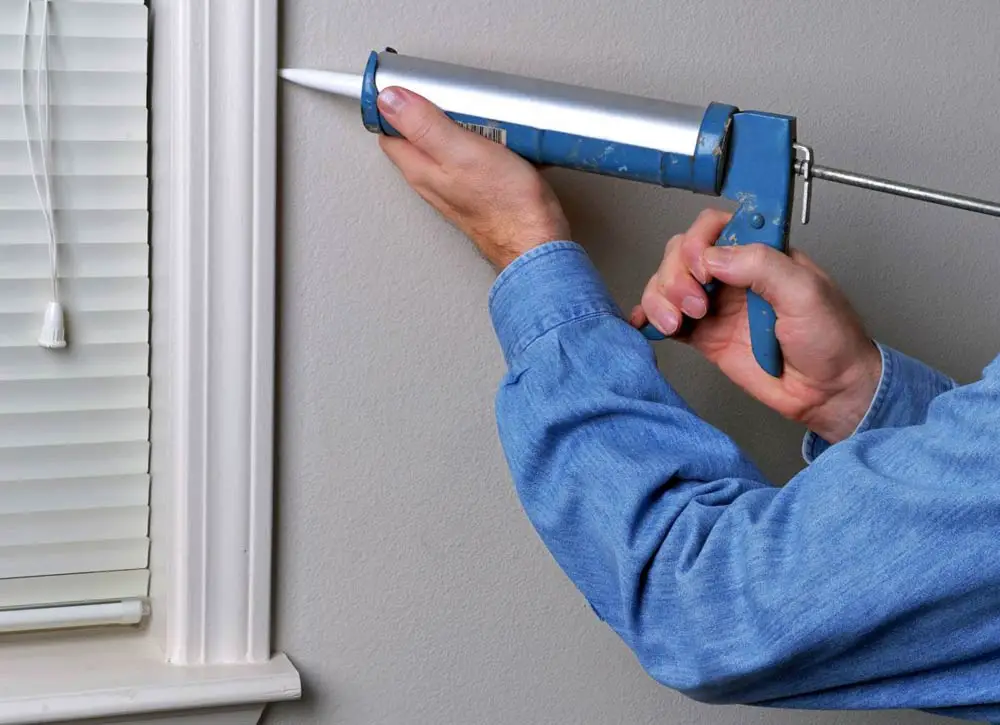
Image credit: bobvila.com
Use decorators caulk along the edge of the skirting, door frames, coving and dado rail. This is to fill any gaps and neaten all the edges, leaving a nice crisp even edge to paint up to.
Top tip: Use either a wet finger or a damp cloth to smooth the caulk once it has been applied. Although this can be a bit messy, it will give you a smoother, neater finish.
6. Mask off any trims
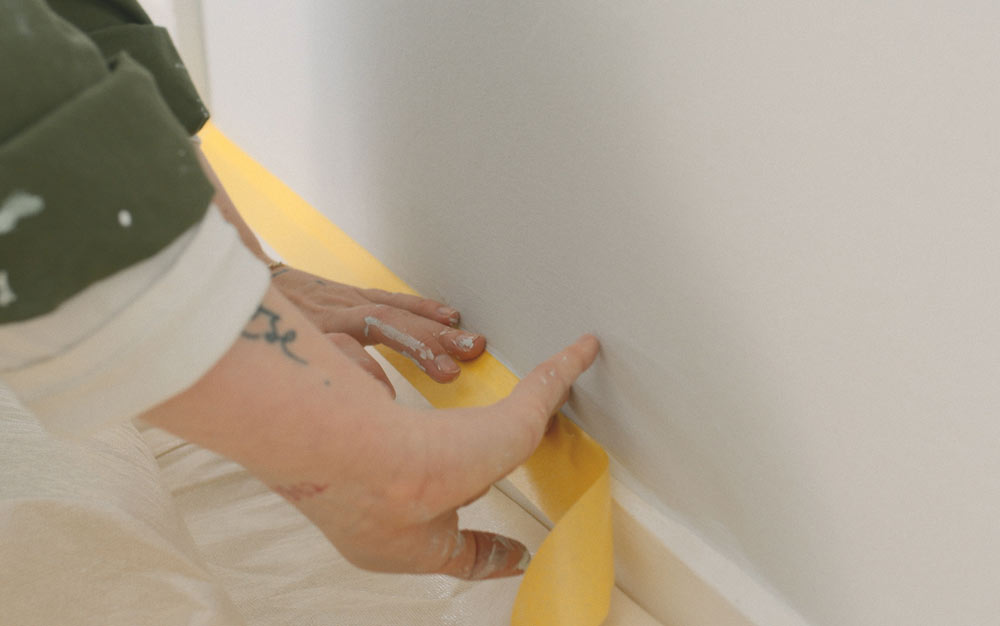
Image credit: lick.com
Before applying any masking tape or painter's tape to the woodwork, make sure that any dampness from cleaning is completely dry. If you don't do this the tape will not stick properly, causing paint to seep underneath, leaving a messy finish.
For a crisp, neat and professional-looking painted edge, it is advised to use low tack decorators tape at the tops of the skirting boards, edge of all coving, and any other trim that meets the wall being painted. Be sure to press the tape down firmly so that the paint doesn't bleed through and get on the trim.
Don't forget to also mask off any light switch, electrical sockets and air vents (if they are not being painted) before you pick up a paintbrush.
You're now ready to move on to the fun bit and start painting!
Recommended Affiliate Partner
Painting the walls
7. Paint the edges with a paintbrush
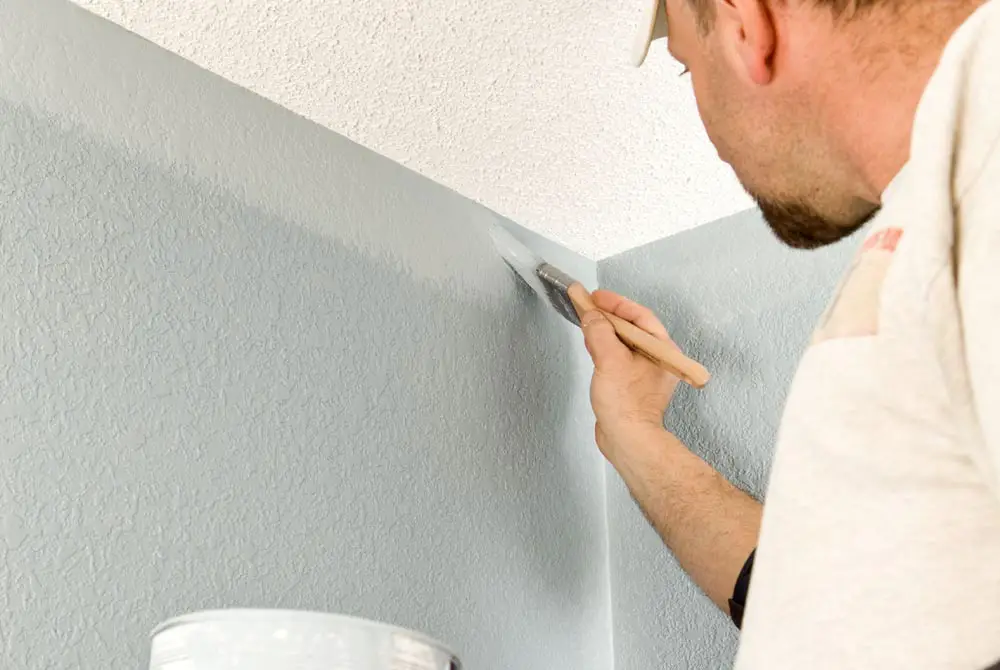
Image credit: pinterest.com
Before using a paint roller to fill the larger expanses of the wall, you first need to 'cut in' with a paintbrush. Cutting in is painting around all of the edges that meet any trim which cannot be painted up to with a roller.
If you are wondering how much paint to use for cutting in, we suggest approximately a brush width worth of paint (or more paint where required). Include all of the tight vertical wall corners and edges where you won't be able to get the roller to reach.
Top tip: Once you have finished cutting in, remove any excess paint from your paint brush and wrap it in cling film, so that you can use it for the second coat without the risk of it drying out in the meantime.
8.Use a paint roller for the large wall areas
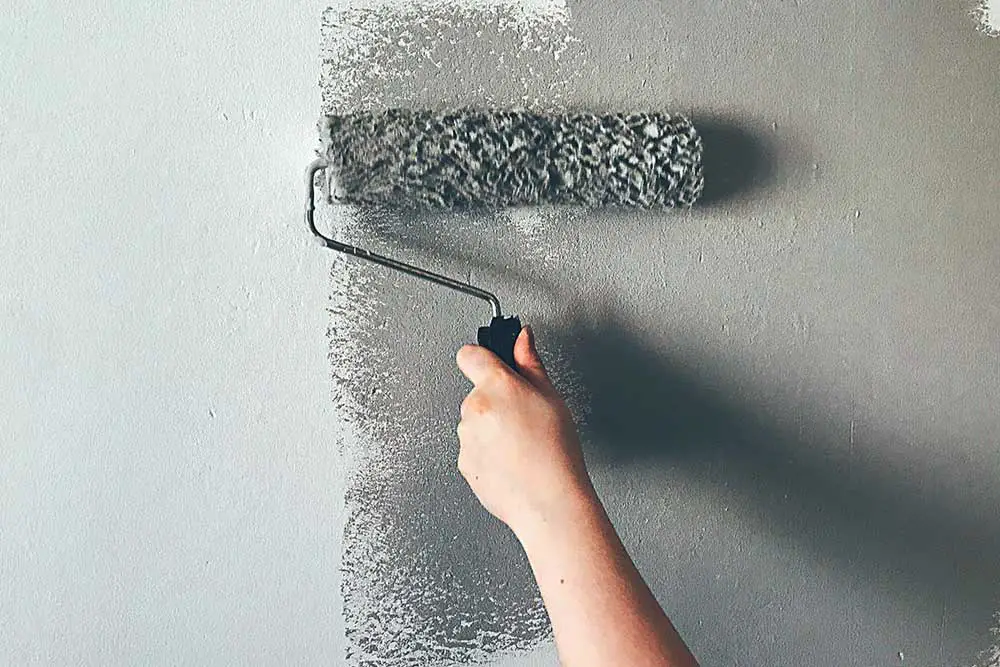
Image credit: igdbulding.com
Pour some of the paint into your roller paint tray (A good tip to save having to wash the tray out once you have finished, is to use cling film or foil to line it before filling with paint).
Load up the roller with the paint in the tray and remove any excess using the tray ridges, to avoid paint drips. When painting your walls with the roller, work in manageable sections.
Overlap each vertical stroke as you go, and then do the same when you get to the cut-in edges until the whole first coat is complete.
Top tip: Place both the roller and roller tray inside a plastic bag or bin bag and tie the top, this will stop it from drying out, in readiness for the next coat.
Repeat step 7 using the paintbrush that you saved earlier, then repeat the rolling process across the whole wall space, making sure to leave a smooth finish without any runs or splodges.
9. Remove decorators tape
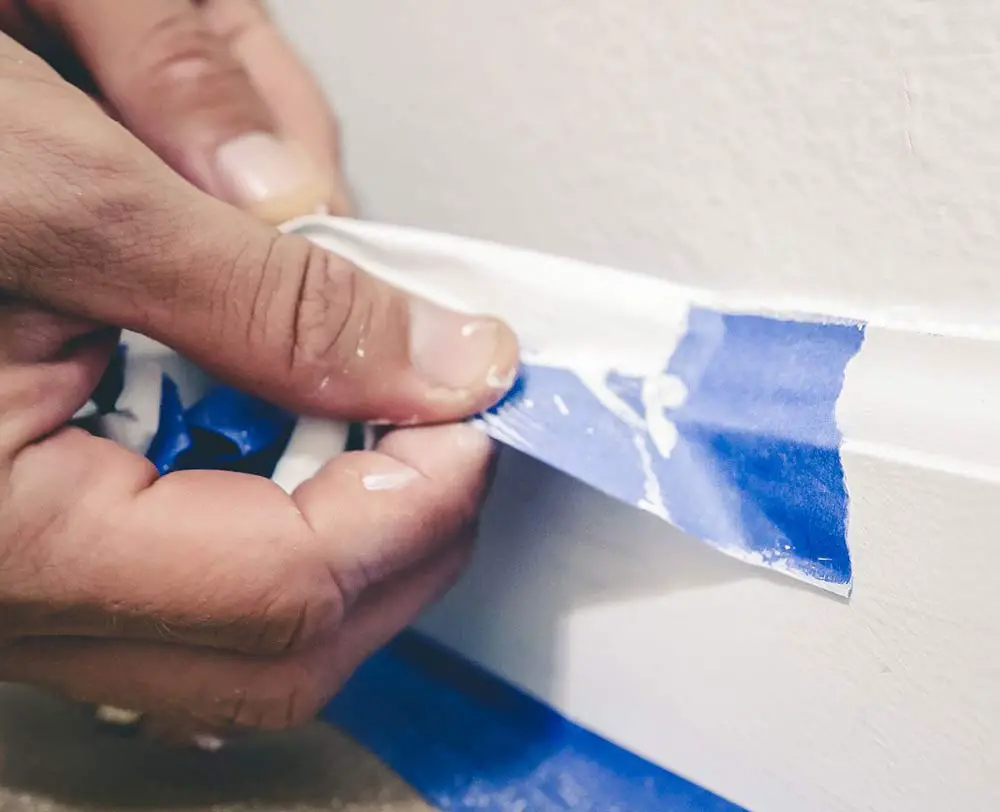
Image credit: familyhandyman.com
Remove the painter's tape as soon as the paint job is dry to the touch. If left on too long after the paint has dried, removing decorators tape could potentially take some paint back off the wall that you have just painted.
Finally, clean your brushes, paint roller and paint tray with either soapy water, if the paint is water-based, or a suitable cleaning fluid if it is oil-based.
That's it, you're all done. Oh....and don't forget to paint the radiators whilst your at it !
Further tips for painting walls
How to paint newly plastered walls
First of all, it is very important to let the freshly plastered wall completely dry out, how long this takes will depend on many factors, but can be anything from 3-10 days. Applying paint to plaster that has not fully dried out, runs the risk of it peeling off, as the plaster continues to dry.
For the first coat of paint on a newly plastered wall, It is important to dilute it with water (about a 1:1 mixture). When painted onto the bare plaster wall, this is known as a 'mist coat'.
If this is not done, the paint will not soak properly into the plaster and may peel off later down the line.
Once you have at least one mist coat on the wall, and it has dried, you are free to add your first layer of primer or paint.
Should I paint walls or ceiling first
To be honest there are no hard or fast rules when it comes to whether to paint the ceiling or walls first.
Some people prefer to start with the ceiling because it can help prevent drips from falling onto the walls and ruining the paint job that you have already completed. Also, if you start with the ceiling, you can cover any drips or mistakes with the wall paint later on.
On the other hand, others prefer to start with the walls because it allows them to focus on the larger surface area and get it done more quickly. It can also be easier to cut in around the edges of the ceiling if the walls have already been painted.
Ultimately, the decision of which to paint first comes down to personal preference and the specific circumstances of the project. Both approaches can be effective, so it's important to choose the method that works best for you.
Should you paint walls or woodwork first
I would personally always paint the lightest colour first. So if you are painting your walls a lighter colour than the trim, I would suggest painting them first, so that any imperfections in your painting will be less noticeable.
Adversely, if you are planning on having dark walls, paint the woodwork first. It is much easier to paint a dark colour over a light one than vice-versa.
However, if you listen to some professional decorators (regardless of the colours they are using) they paint the trim first, then the walls. That's because it's easier and faster to mask off the trim than it is to tape off the walls. You also don't have to be particularly careful with your edging, as you are going to paint a neat edge when you come to paint the wall.
My Final Thoughts
Painting walls can be a fulfilling and cost-effective way to refresh the look of any room and by following the steps outlined in this blog, you can ensure a smooth and successful paint job.
First, prepare the surface by repairing any imperfections and protecting your furniture and flooring, then choose the right paint and tools for the job, using the proper techniques to apply the paint evenly and smoothly.
Finally, clean up your space and allow the paint to dry completely before adding any finishing touches and decorations.
However, if this is all too much for you to contemplate, consider getting the help of a trusted painting contractor to do the work for you !
 Author: Matthew Chiappini